


Workshop Resin Workshop Elegoo Saturn 4 Ultra 12K
Elegoo Saturn 4 Ultra 12K
Develop a repeatable resin-printing setup around the Saturn 4 Ultra, including the workspace, calibration, washing, curing, and cleanup.
Current state
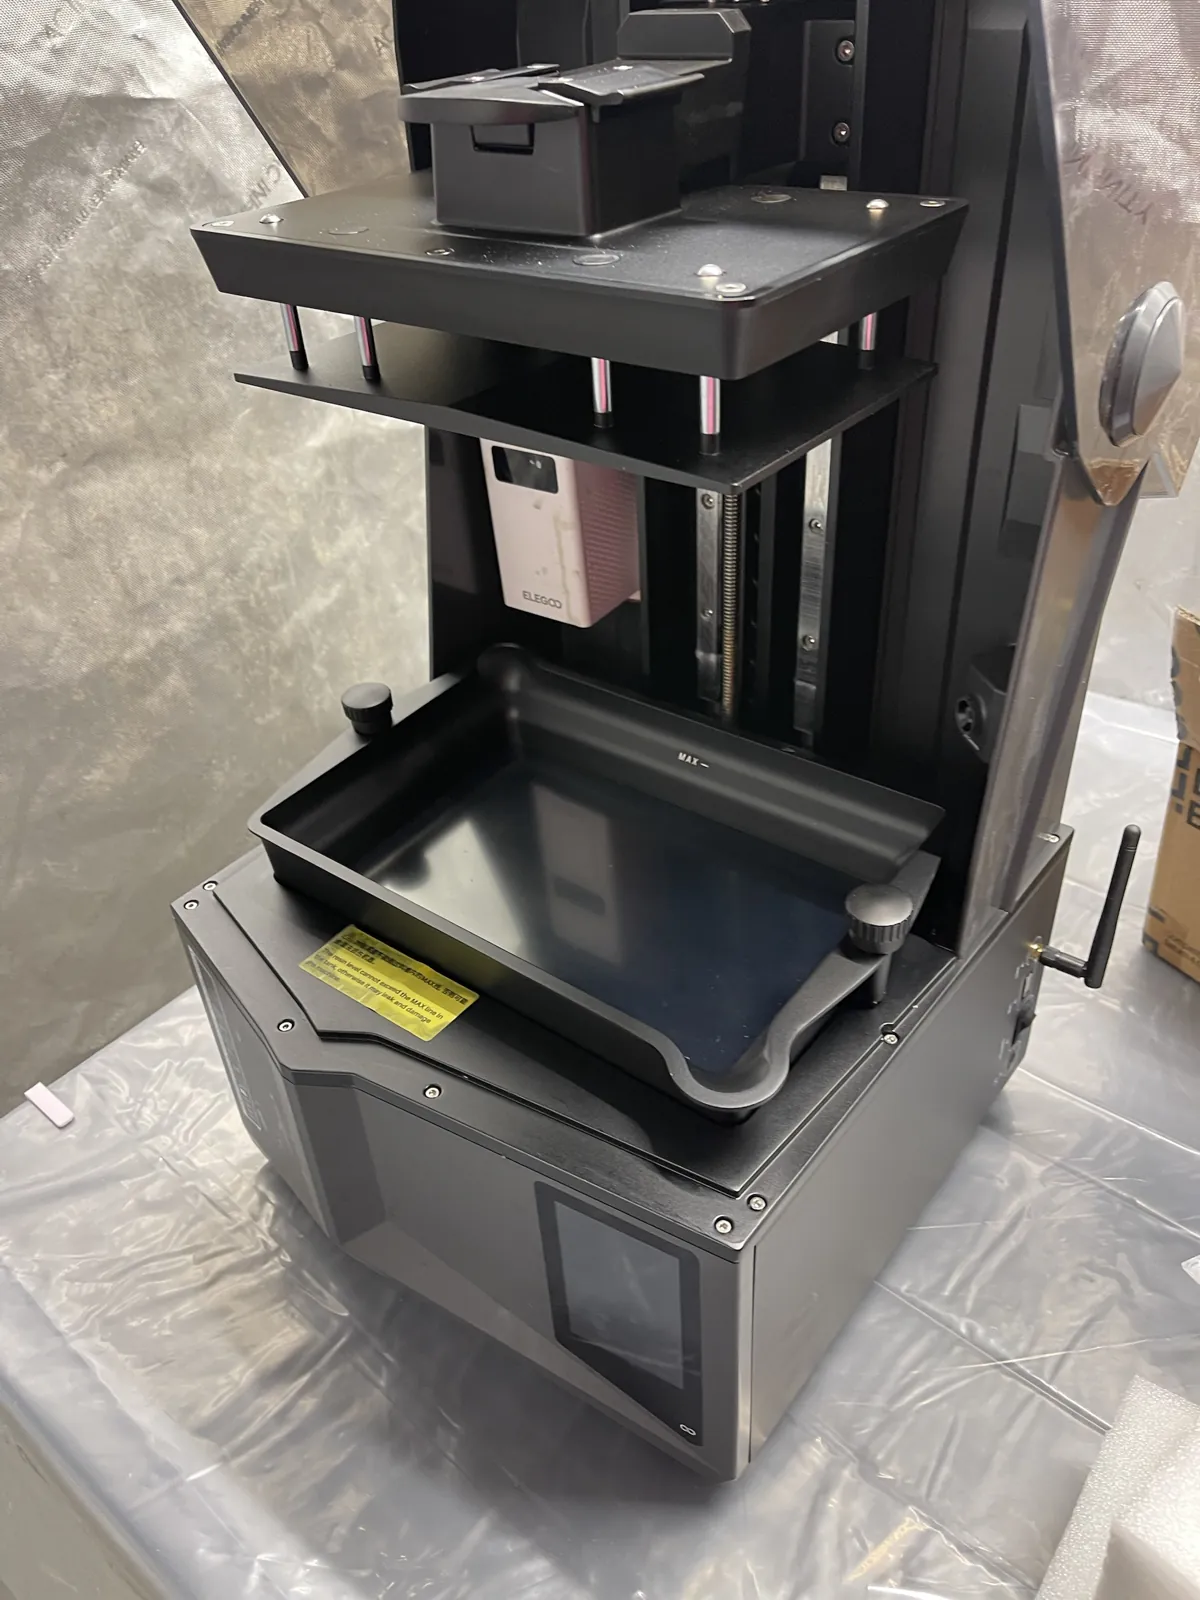
The Saturn came with an Anycubic Photon P1 in an October 8, 2026 trade for Pam (Prusa MK4S). It is in the garage tent and passed its first calibration prints; a clearer LCD check, the wash workflow, and cleanup remain.
Next actionRerun the full-screen exposure test over a sheet of white paper to check what may be a line on the left side of the Saturn's LCD, then try a first useful print.
Project phases
- Acquired
- Workspace setup
- Resin selection
- CalibrationCurrent
- Wash and cure workflow
- First useful prints
- Repeatability testing
- Guide extraction
What this project tracks
- Saturn 4 Ultra setup and calibration
- Printing, washing, curing, cleanup, and waste handling
- The garage workspace and its changing workflow
Equipment and setup
- Elegoo Saturn 4 Ultra 12K (vat and build plate installed; Wi-Fi set up; calibration prints succeeded on October 19, 2026; a test mini, Puck the Adventurer, failed afterward because debris was left in the vat, then reprinted cleanly at 2.0 s)
- Anycubic Photon P1 (acquired in the same trade; worked at pickup, not powered on since)
- AC Infinity CLOUDLAB 866, 5 × 5 ft grow tent (assembled in the garage; no functioning exhaust installed)
- Anycubic Wash & Cure 3 Max (powers on; function unconfirmed; cured resin in its lines)
- ELEGOO Mini Heater (matches Elegoo's listing) mounted inside the Saturn's hood, which came with the printer but without its power cord, so it hasn't been used
- Fungdo resin curing enclosure (used to cure the October 18 exposure test pieces)
- SUNLU ABS-Like Dark Grey resin (one bottle opened and stored in the tent; used for the exposure test and calibration prints; current settings 2.0 s per layer at 0.05 mm, 6 bottom layers at 25 s)
Open problems
- The wash-and-cure station has not been diagnosed, and the wash process is not established.
- The exhaust is not installed: the fan is on hand, but the ductwork isn't set up. I've started printing before it's ready, as the Build Log records; that is a personal choice, not a tested or recommended setup.
- Calibration prints passed, but the first test mini failed because of debris in the vat. Its reprint came out clean. The first full-screen exposure test may show a line on the left side of the LCD; it was hard to see, so I'm rerunning it over white paper.
Project notes
This page is the Saturn workstream within Resin Workshop. The Saturn and Photon P1 came in a trade for Pam, my Prusa MK4S upgraded from an MK3S+, on October 8, 2026. The Build Log keeps the dated sequence, including what changed and what I was thinking at the time. The project page will change as the setup does; the log entries remain in their original order.
The printer and wash station came from the same pickup. The wash station powers on, but I have not confirmed that it works. On October 18, I ran an exposure test on the Saturn, and on October 19 a Cones of Calibration v3 print in SUNLU ABS-Like Dark Grey came out with every visible feature intact. From those prints, I've settled on a 2.0 s exposure per layer at 0.05 mm layer height, with 6 bottom layers at 25 s, as a starting point. A test mini right after that, Puck the Adventurer, failed because a piece from the calibration prints had stayed in the vat. The vat is cleaned and back together, and the Puck reprint at 2.0 s came out clean; a first full-screen exposure test may show a line on the left side of the LCD, so I'm rerunning it over white paper to see it clearly. I have not established a tested resin workflow yet, and working out how the wash and cleanup steps fit together is still ahead.
The planned reference guide is still marked Coming Soon until I have used and tested the setup. It is not a finished set of instructions.